If you're using Sportreact PLUS, you're already one step ahead in optimizing athlete and team performance. One of the most powerful tools in your Sportreact toolbox is the Activity Report, designed to help you analyze every rep of training sessions with precision, visualization, and context.
In this guide, we’ll walk you through what the Activity Report is, how to use each of its features, and how to make the most of your training data. Let's break it down!
To be able to use all the features, please upgrade to Sportreact PLUS.
What is the Activity Report?
The Activity Report is a dynamic, detailed breakdown of all athlete reps recorded through Sportreact. It's part of the Sportreact PLUS tier and enables you to dive deep into each activity performed – whether it’s a sprint, agility drill, or reaction test – and analyze them rep-by-rep.
It helps you:
Track each rep in detail (hits, duration, power, velocity, etc.)
Compare performances between athletes or across sessions
Visualize data through interactive charts and graphs
Accessing the Activity Report
To begin using the Activity Report:
1) Log in to your Sportreact account with PLUS access.
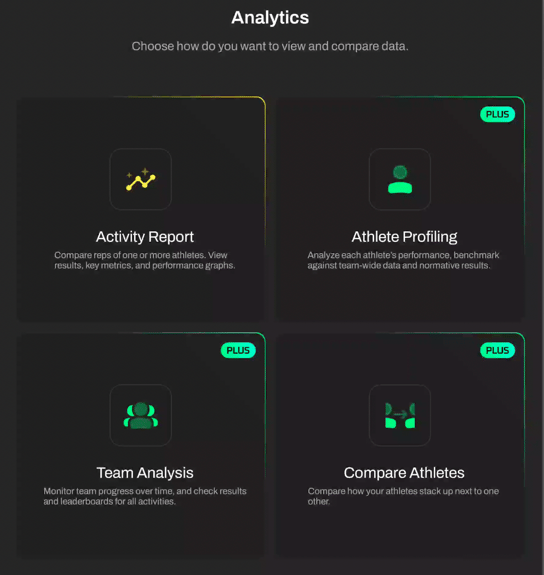
2) Navigate to the Analytics section from your dashboard.

3) Select Activity Report in the Analytics screen.
Select Data for Anaylsis
Before building your report, make sure you saved your sessions. If you don't have any sessions saved, you won't see any data.
Choose team, athletes and activity
On the Choose team, athletes and activity screen, please select the data you wish to input into your analysis. Mark the checkbox to select data.
1) First Select Team
.png?width=567&height=367&name=Screenshot_2025-04-15_at_11_01_18(1).png)
2) Select Athlete(s)
You can mark the checkbox next to each individual athlete to select them, or click Select all button to include all the athletes from your team in the analysis.
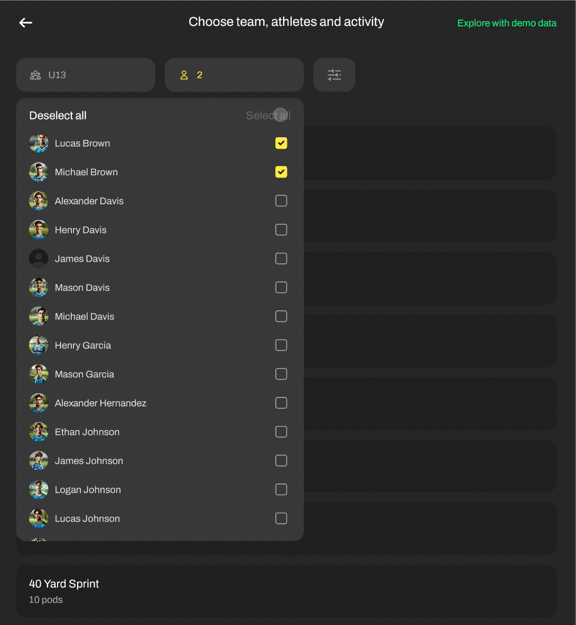
3) Choose the activity you want to analyze. When you tap on the activity name, you will be taken to the next screen.
If no activities are shown, make sure you’ve saved your sessions.
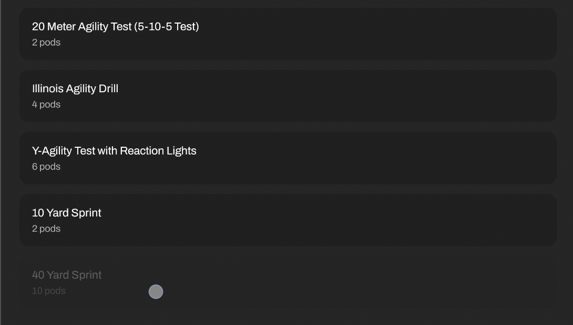
Select reps for analysis
4) On the Select reps for analysis screen, select reps for analysis by tapping on them. Chosen reps will appear darker. For quicker selection, choose "Select all" button to include all the listed reps in the analysis.
.png?width=480&height=508&name=Screenshot_2025-04-15_at_11_08_03(1).png)
5) When you have selected all the reps you want to include, press Save at the bottom of the screen to create the Report.
Filter
By clicking the Filter button on the Choose team, athletes and activity or Select reps for analysis screen, you can sort your reps for an easier search.
.png?width=121&height=109&name=Screenshot_2025-04-15_at_11_54_38(1).png)
Choose if you want to:
Filter by:
- Date: select the time period you want to view the data from
- Session tags: select session tags assigned to specific reps
- Activity title: filter activities on the Choose team, athletes and activity screen
- Order: select sorting order
-
A-Z (lowest to highest)
-
Z-A (highest to lowest)
When satisfied with the filter, press Save and the filtered data will appear on the screen. Your filter will remain saved next time you enter the Activity report. If you want to clear out your sorting, select Restart button in the bottom left corner.